

Revivalist is a reader-supported endeavor and our posts may contain affiliate links. When you buy through links on our site, we may earn an affiliate commission.
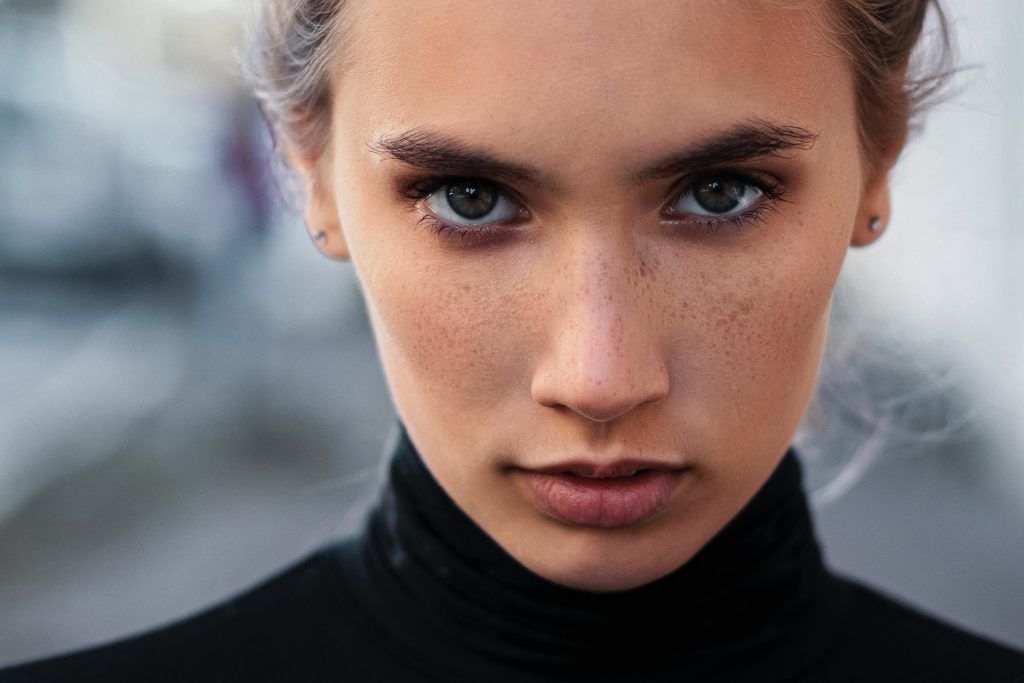
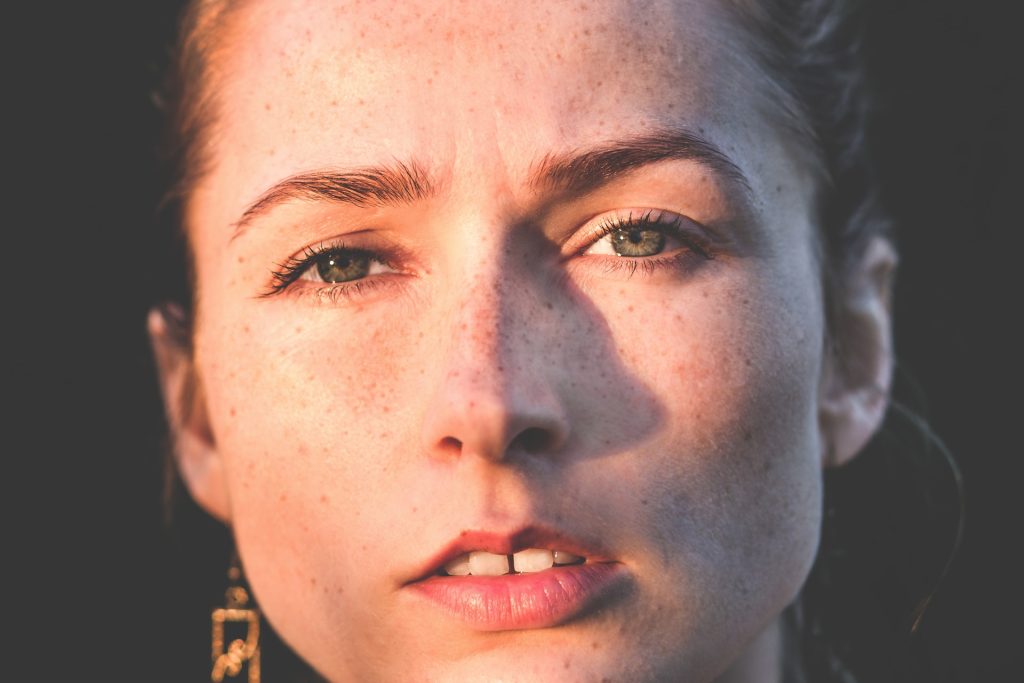
A natural makeup look doesn’t mean you are barely wearing makeup. It simply means you’re using makeup to enhance your natural features, rather than going for bright colors or dramatic looks. To achieve a natural look, you can use foundation, concealer, blush and even contour. But you might skip the shimmery eye shadow and liquid eyeliner.
If you want your makeup to look flawless but still effortless, here is how to do natural makeup.
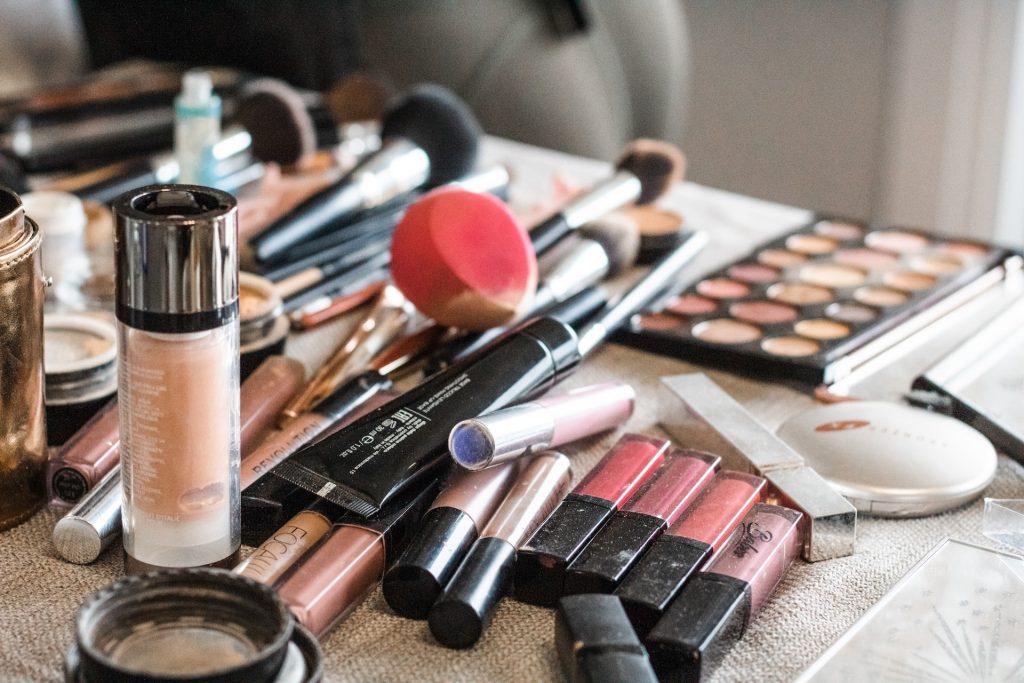
Natural Makeup Essentials
Before we dive into the natural makeup routine, here are some essential products you’ll want to have:
- Light or medium coverage foundation
- Concealer
- Setting powder
- Setting spray
- Pink or peach-toned blush
- Mascara
- Cream or liquid contour
- Lip balm, clear or tinted
- Eyebrow pencil or powder
While you can add your favorite products to this list, some items that aren’t commonly used in a natural routine are eye shadow, liquid eyeliner, shimmery highlight, lipstick or gloss.
Step 1: Prep Your Skin
Your makeup is only as good as its base. Skincare is extremely important, especially for this look, since we want you to want it to look like you aren’t wearing much. You will want to wash away any dirt or leftover makeup hiding on the skin. Use a cleansing balm or micellar water before you use your regular cleanser. This double-cleansing method ensures your face is as clean as possible.
After cleansing, you can apply toners, serums, eye creams and moisturizers. Moisturizer is the most important step since it locks in hydration for the day and creates a smooth base. Hydrated skin will make you look glowy and reduce the chances of your skin looking flakey after applying makeup.
Step 2: Primer and Color Correcting
Primer is the step between skincare and makeup that ensures your skin looks its best. They are meant to blur any imperfections and create a base for the makeup to stick to. Without primer, your makeup might crack or come off throughout the day. Different types will leave your skin with a matte or glowy look.
If you have an uneven skin tone with redness or dark under the eyes, there are primers you can use to color correct. Evening out the skin tone helps you have a solid canvas to apply makeup. If you aren’t sure what color corrector to get, here is a guide.
- Purple. Eliminates sallow tones like a yellow complexion or dull skin and acne scars that appear on the face.
- Yellow. Yellow corrects blue and purple tones and is most commonly used to lighten under the eyes.
- Orange and red. If you have a darker skin tone, orange and red are great for dark circles and discoloration.
- Pink. Corrects dull skin and helps mask signs of fatigue.
Step 3: Foundation/Tinted Moisturizer
A foundation or tinted moisturizer does exactly what it sounds like. It is the foundation of your makeup since it gives you an even tone to work with. The choice between a foundation and a tinted moisturizer is up to you. Foundations typically are more full-coverage than a tinted moisturizer. It is a personal preference on the amount of coverage you want.
When you apply it, use a damp beauty blender or foundation brush. A brush gives an airbrushed finish, while a sponge looks more natural. Focus on your face’s high points while applying and work towards the outer edges.
Step 4: Concealer
Concealer is used to lighten up and cover imperfections on your face. Typically your concealer should be a shade lighter than your normal skin tone. Lightly go over blemishes and put some under the eyes. Use your finger to blend out the coverage on the blemishes and use a brush or sponge for the under eyes. Use your ring finger and lightly tap your under eyes to get it to melt into the skin naturally.
Grab a loose powder and apply it to the sides of your nose and under your eyes. It will set your concealer in place and prevent it from creasing throughout the day.
Step 5: Contour
You can choose a cream, stick or powder when contouring. You can even layer the cream or stick contours with a powder if you would like. Apply the contour just below your cheekbones and blend out to emphasize the definition of your face. You will also want to put it on your hairline and jawline and outline both sides on the bridge of your nose.
For the nose contour, you will want to blend it out vertically, which can give the illusion of a smaller nose. Try to pat the contour over swiping to avoid lifting the foundation and skin. Go over the areas on your face with bronzer to add more definition.
Step 6: Blush and Highlighter
When you put on foundations, it can take the natural colors out of your skin. Adding blush will make you look like you have a pink and lively tint to your face. You can use a powder or liquid blush, whichever you prefer. Grab a brush or use your fingers and apply from the apples of your cheeks and bring it up and back to the hairline.
Highlighter can be placed slightly above blush and can even overlap. Apply it on the high points of your cheekbones. It is gorgeous when you put it down the bridge of your nose, your cupids bow and in the inner corners of your eyes. Don’t put too much on or it will start to look unnatural. Put just enough for a glow.

Step 7: Eyebrows and Eyeshadow
Eyebrows are important since they actually play a role in communication and frame your face. Brush them upward to make them look fluffy and fill any light areas. Your eyebrow pencil strokes should mimic the way natural hairs sit.
For eyeshadow, you will want to use neutral brown colors for a subtle look that lets your eyes pop. Apply a medium brown to the crease and blend it out. If you want to add eyeliner, it is best to use a darker shade of brown with an angles brush and create it with eyeshadow instead of harsh liquid or creme liners.
Step 8: Mascara
Add a couple of coats of mascara to get your eyes to pop. It will open up your eyes and complete the natural look. You can add false lashes to the ends of your eyes if you have thin lashes and want a slightly fuller look.
Once complete, spray your entire face with setting spray to it doesn’t budge and you are done.
Natural Makeup Tips
Now that you have a natural makeup routine to get started, here are some final tips to remember:
- When in doubt, go “less is more.” If you’re worried your look is too heavy, try going in with a lighter hand with products like contour and blush.
- Follow your natural features. When choosing a blush color or filling in your eyebrows, it’s best to match your natural colors and follow the lines of your face. When contouring, try to enhance your face shape, rather than change it completely.
- Choose neutral tones. Blue eye shadow and purple blush can be a bold look, but won’t work for a natural routine.
- Do what feels good for you. No one says you need to follow every single step. If a red lip and winged eyeliner make you feel confident, go for it!
Check out these natural makeup tutorials for more inspiration:
Enjoy Your Natural Makeup Look
After you complete all the steps, you are ready to head out the door with what looks like an effortless glow. It can take practice and trial and error to figure out what looks best on you and perfect the techniques. Take it slow and find what looks best on you.


Share this article