
Revivalist is a reader-supported endeavor and our posts may contain affiliate links. When you buy through links on our site, we may earn an affiliate commission.
Criss cross braids are trending this year and for a good reason. With the versatility and convenience that comes with the style, it’s easy to see why people are turning to them again. While the intricate geometric patterns might look complex, you can achieve them with practice. Here are two tutorials for you to try:
Criss Cross Knotless Braids
While the style might look a little different depending on your hair type, criss cross braids can be done by anyone. If your hair is straight or wavy, try the crossed Dutch braid style. If you have coily or curly hair, try the criss cross knotless style. For short or medium-length hair, you can add braiding hair to achieve the look.
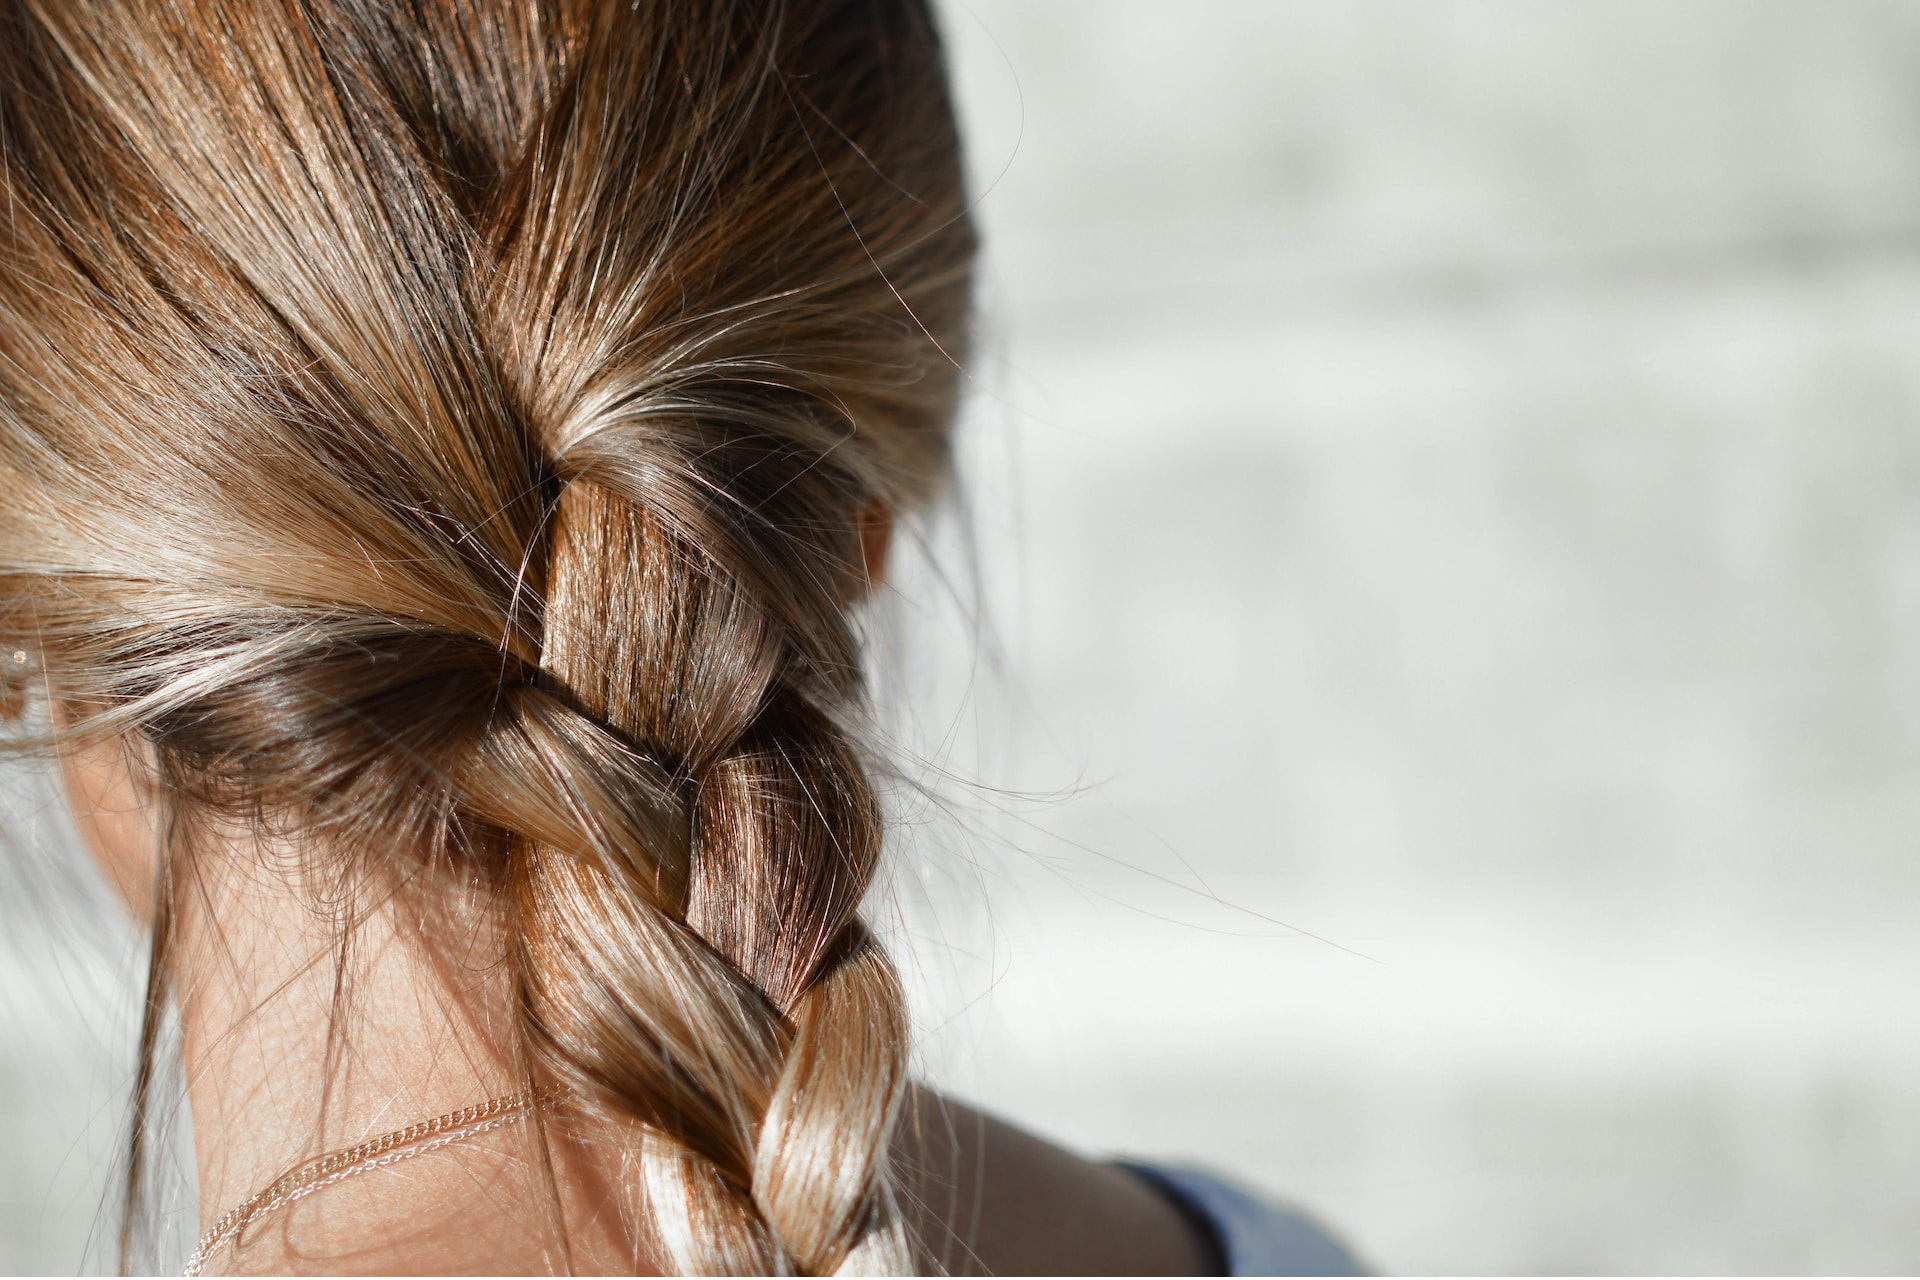
Criss Cross Knotless Braids
This knotless braid style with a stylish geometric pattern will turn heads. You can use your choice of braiding hair to complement the criss cross front. The braiding technique works with soft locs, ponytail extensions and normal braiding hair. Add curls or beads to the ends for extra flair.
Here are the products you will need:
- Braiding Hair
- Elastic bands
- Edge Control
- Rattail Comb
How to do criss cross knotless braids:
Follow these steps to achieve your desired look.
1. Start with washed and moisturized hair.
Before you start, ensure that your hair is clean and moisturized. Your hair should also be dry or almost completely so.
2. Section your hair.
Divide the top half of your hair into five sections with a rattail comb. After you part each section, use some holding gel to secure the sections. Keep the sections separated with scrunchies.
3. Divide each section into three.
Then, divide those sections horizontally into three boxes and apply gel. Then, secure with an elastic band. Dip each elastic band in oil before you use it to protect your hair from breaking. Apply gel on the ends of each section and twist the hair. From this, you should have six boxes.
4. Create criss cross sections.
Using gel and a second elastic band, cross the top left box diagonally to the bottom right box and secure it with gel and an elastic band. Repeat on the other side to make an X-shape, then repeat the criss-cross shape with the last two boxes. Repeat until you have five sections of criss-cross lines.
5. Start the knotless braids.
Leave the criss cross sections and move onto the bottom of your hair for the knotless braids.
Professional hairstylists typically work their way up from the bottom row starting from the nape of your neck. If it is your first time, you might find it easier to start behind the crisscross braids.
Part a horizontal line, then divide the line into sections. The braid size you want determines how many sections you create.
Once you have divided the row into sections. For each section, apply gel to your roots and divide the section into three parts. Braid the hair down for two to three links, then add a small piece of braiding hair, repeat until you have three more links and add some more braiding hair. Keep braiding, and adding braiding hair after every three to five links until you reach the bottom.
Repeat for every section and every row. Once you have finished, return to the criss cross sections.
6. Transition each criss cross section into a braid.
Use the same method for the knotless braids above, gradually feeding small amounts of braiding hair into each strand until you have one braid.
7. Lay your edges.
Finish the hair style by laying your edges using edge control.
8. Use mousse to set the hairstyle.
Apply mousse and let it dry or use a hair dryer on the cold setting to help it sink into the braids.
Crossed Dutch Braids
This cross braid hairstyle works as an everyday look or you can dress it up by adding color or glitter for a beach or festival trip.
Products you will need:
- Dry Shampoo
- Elastic bands
- Holding spray
- Rattail Comb
How to do crossed Dutch braids:
If you have straight or wavy hair, here are the steps to doing Dutch style criss cross braids:
1. Start with clean hair
Ideally, you want to start with freshly washed hair. If you do wash your hair, make sure that its 90% dry before you start braiding. If you have recently washed your hair, use some dry shampoo to refresh your hair and absorb any oil from your roots.
2. Divide your hair into four equal parts
Separate your hair into four equal parts. You can use a scrunchie or hair clip to keep the free hair intact while braiding. https://youtu.be/h5axITrjo2k?feature=shared
3. Braid the first side diagonally.
Create a diagonal Dutch braid from the top right side of your head to the Middle of the left side, then join the hair with the bottom left part and work your way down. Secure the end with an elastic band.
4. Braid the second side diagonally over the first side
The second Braid will go from the top left side of your head, ontop of the first braid and joined to the bottom right part to create and X-shape. Secure the end with an elastic band.
5. Set the hair
Spritz your hair with an edge-holding spray and smooth out any flyaways with hair serum. This will ensure that the hairstyle lasts all day.
What’s the benefit of braiding your hair?
- Protects your hair from breakage. Braiding your hair in a protective style can save your hair from breakage by strengthening your strands structurally.
- Promotes hair growth. Loosely tied braids can work with your body’s natural process to increase hair growth.
- Keeps your hair moisturized. Braids help to lock in moisture and this helps with keeping your hair nourished and frizz-free, especially while you’re sleeping. Sleeping with your hair in braids decreases the friction between your hair and the pillow and reduces breakage at night. Remember to wear a silk scarf or bonnet to keep the hairstyle fresh and flyaways at bay.
Flaunt Your Creativity With Criss Cross Braids
If you enjoy expressing your originality and creativity in all areas of your life, you will love the versatility of this hairstyle. It may take a few tries if you’re a beginner, that’s the beauty of styling your hair by yourself. You try, you learn and you discover what you like in the process.


Share this article