


Revivalist is a reader-supported endeavor and our posts may contain affiliate links. When you buy through links on our site, we may earn an affiliate commission.
Picture yourself miles deep on the trail, completely self-sufficient and free. That flutter of pre-hike anxiety? It vanishes the moment you know you’ve packed everything you need. A solid backpacking checklist built on a head-to-toe system ensures nothing gets left behind. When you prepare methodically, from your boots to your first-aid kit, you’re not just packing gear. You’re building confidence for an unforgettable adventure. Here’s the only backpacking checklist you’ll need for a successful hike.
Build Your Footwear Foundation
Your feet carry you through every mile, so start your packing strategy from the ground up. The right footwear makes the difference between a triumphant summit and a miserable slog back to the trailhead. You’ll need to choose between hiking boots and trail runners based on your terrain and personal preference.
Hiking boots offer more ankle support and perform better on rugged, uneven terrain. They’re heavier but provide stability when you’re carrying a loaded pack over rocks and roots. Trail runners are lighter and more flexible, making them ideal for well-maintained trails and faster paces.
Whatever you choose, break your footwear in before your big trip. New boots or shoes need time to mold to your feet. Wear them on shorter hikes first to prevent painful blisters and hot spots when you’re miles from civilization.
Wool Socks
Cotton is the enemy of happy feet on the trail. When cotton gets wet from sweat or stream crossings, it stays damp and creates friction that can lead to blisters. Instead, choose moisture-wicking materials like merino wool or synthetics. These fabrics pull sweat away from your skin to keep feet dry, reduce friction and regulate temperature in both hot and cold conditions.
Always pack at least one extra pair. Swapping to a dry, clean pair of socks midday or at camp is a simple but transformative luxury.
End-of-Day Camp Shoes
After logging miles in heavy boots, slipping into lightweight sandals or camp shoes feels like pure bliss. Camp shoes like lightweight sandals, foam clogs or water shoes allow your feet to breathe, dry out and recover. This helps prevent soreness and keeps you comfortable for the next day’s hike.
There’s a practical benefit too. Wearing camp shoes inside your tent keeps it cleaner by leaving your dirty hiking boots outside.
Master Your Clothing System

The three-layer clothing system is your defense against unpredictable weather. Your backpacking checklist must include the following to help you adjust to changing temperatures throughout your hike:
- Your second skin base layer: Your innermost layer should be a lightweight shell that wicks sweat away from your body. Focus on moisture-wicking materials for long-sleeve shirts, short-sleeve shirts and leggings. Your second layer is for warmth, while the third breaks the wind.
- Pack a warm mid-layer: This is your insulation layer. Its job is to trap your body heat to keep you warm. A fleece jacket is a reliable, breathable option, while a puffy jacket filled with down or a synthetic alternative offers incredible warmth for its low weight.
- Bring a waterproof outer layer: This is your shield against the elements. A high-quality rain jacket and rain pants are nonnegotiable safety items. They must be waterproof to keep rain out and breathable to let sweat vapor escape.
- Choose durable hiking attire: For your main hiking clothes, choose durable, quick-drying hiking pants or shorts. Convertible pants offer great versatility. Many women also prefer hiking in leggings, just choose moisture-wicking, non-cotton materials.
- Essential trail accessories: A warm beanie is crucial for preventing heat loss at night. A wide-brimmed sun hat is essential for daytime protection. Lightweight gloves add significant warmth with minimal weight and you should always pack an extra pair of underwear.
Bring Your Mobile Shelter
The Big Three refers to your pack, tent and sleep system. Getting these choices right impacts both your comfort on the trail and the total weight on your back. Depending on your itinerary, your backpacking checklist may not include these items.
Backpack
Your backpack should feel like an extension of your body, not a burden. The key is a proper fit in which your hips carry most of the pack’s weight, not your shoulders. Hip belts transfer the load to your stronger leg muscles, saving your shoulders and back from strain.
Having a professional at an outdoor retailer fit you is worth the trip. They’ll measure your torso length, adjust the suspension and help you find a pack that matches your body and trip length.
Perfect Tent
Choosing a tent means balancing weight, durability and interior space. A lighter tent is easier to carry but may be less durable or offer less room. A roomier, more robust tent will be more comfortable in a storm, but will add significant weight to your pack.
Consider the typical conditions you’ll be hiking in. A simple, single-wall tent might be fine for dry summer trips, but a double-wall tent is much better for handling rain and condensation.
Sleeping Bag and Pad
Your sleeping bag’s temperature rating should match the expected trail conditions. Check the forecast for your destination and choose a bag rated at least 10 degrees lower than the coldest temperature you anticipate. A sleeping pad is just as critical. Its R-value indicates how much insulation it provides from the cold ground.
Fuel Your Adventure With Food and Hydration
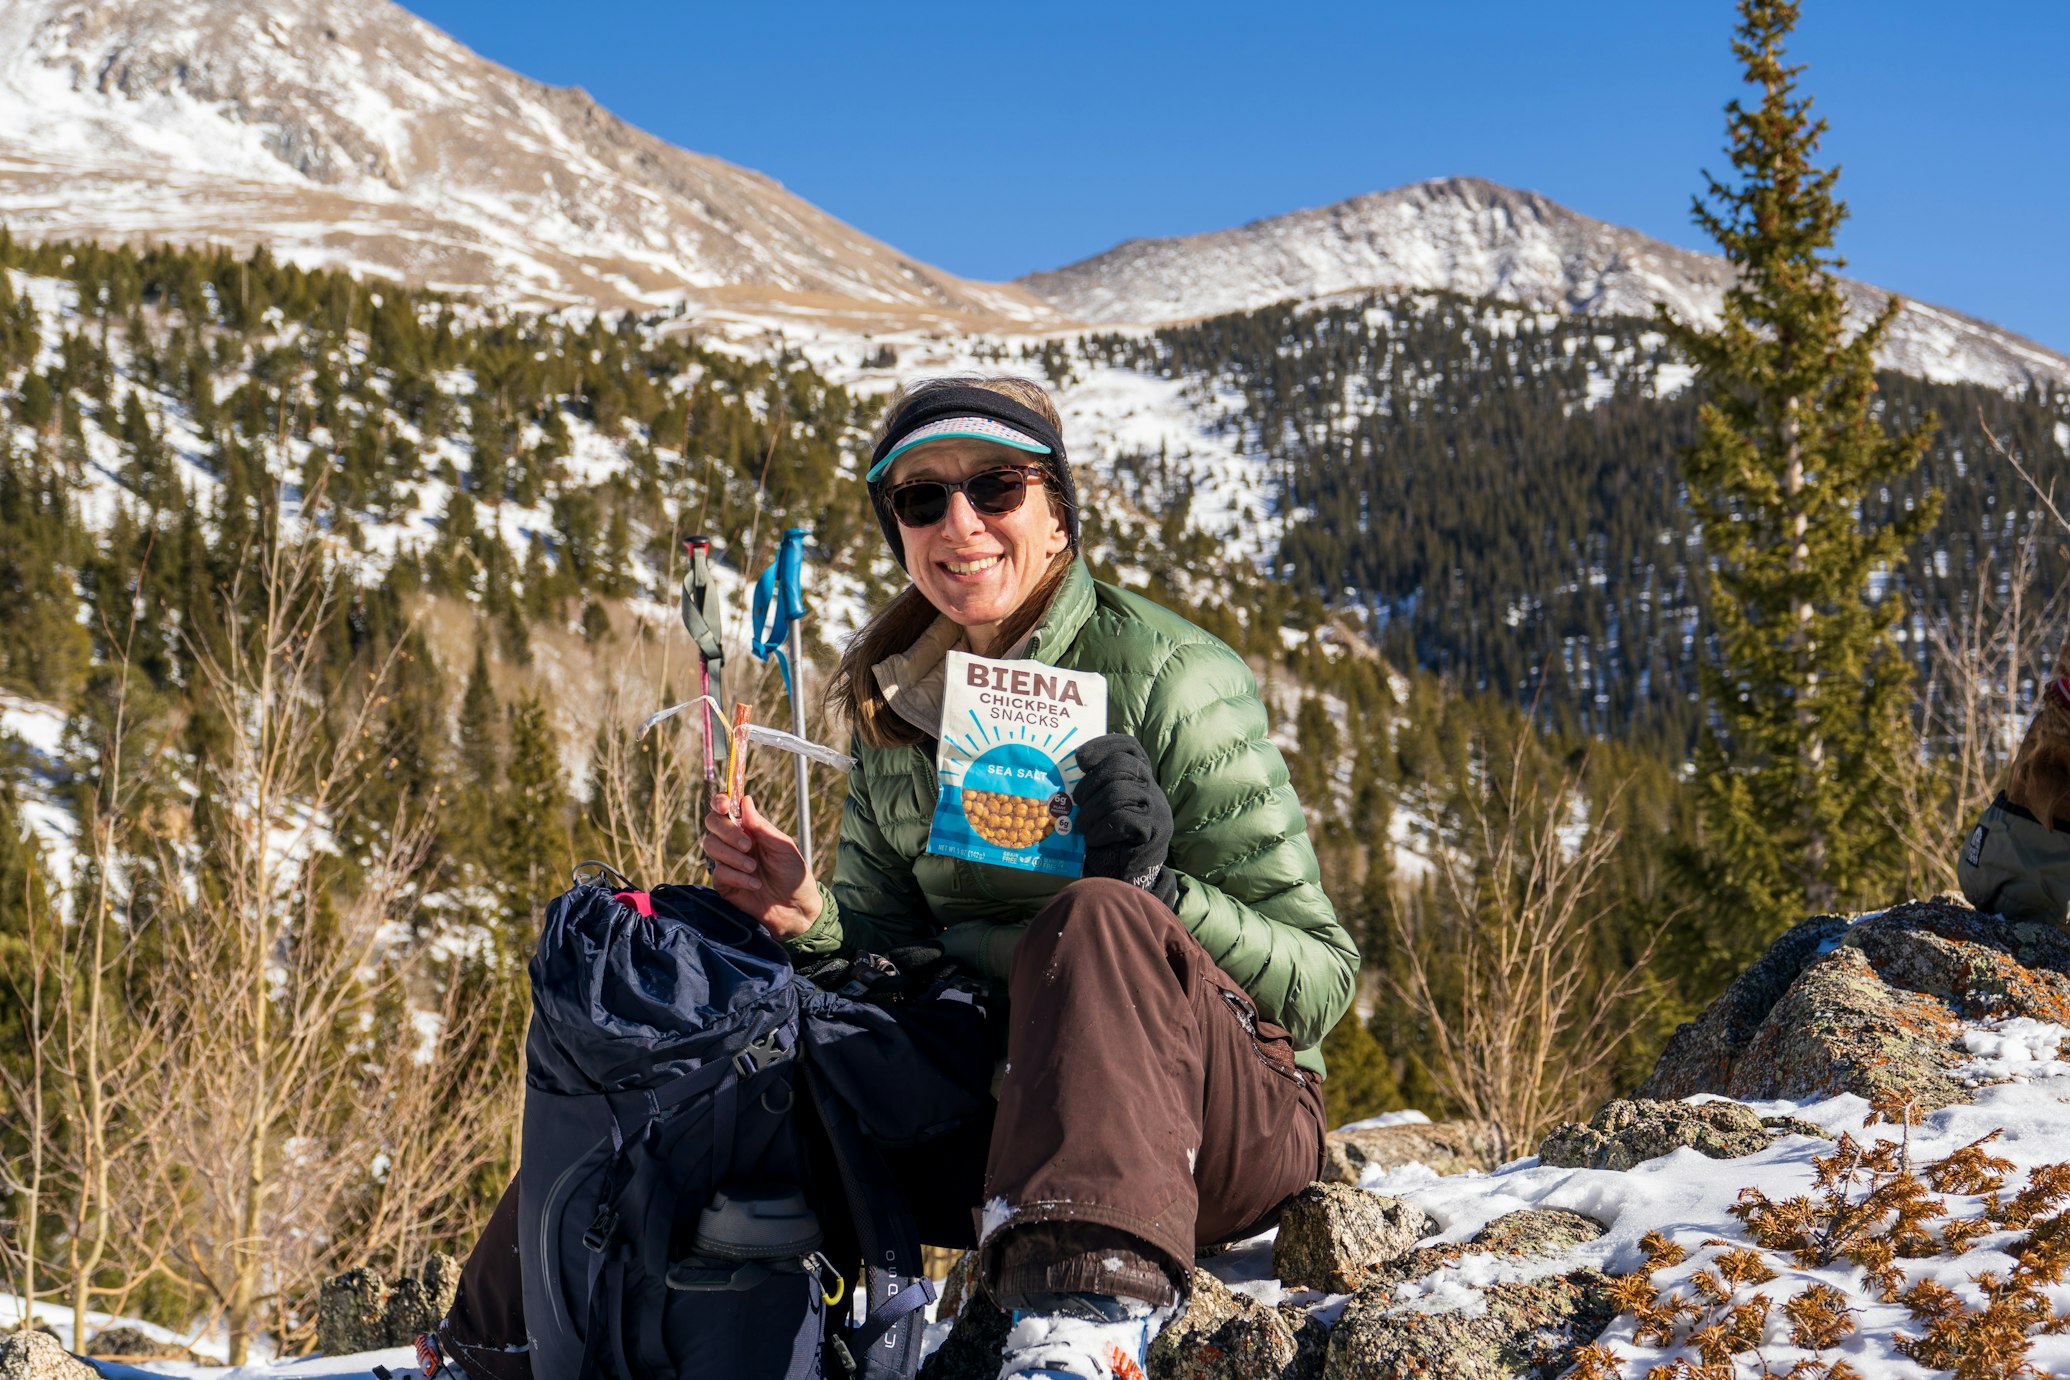
Proper nutrition and hydration keep your energy levels high and your body functioning on long trail days. You’ll need a system for carrying water and a reliable method for treating it.
Trail Hydration and Water Treatment
You can carry water in hydration bladders that sit inside your pack with a drinking tube or in traditional water bottles. Both work well, so choose based on personal preference. What matters most is treating all backcountry water before drinking it.
The three primary methods for treating water are boiling, filtering and disinfecting. To kill germs by boiling, bring clear water to a rolling boil for 1 minute, or for 3 minutes at elevations above 6,500 feet. Filtering removes parasites, but ideally, filter water before using chemical disinfectants.
Camp Kitchen
A minimalist approach works best for backcountry cooking. All you really need is a way to boil water for dehydrated meals and hot drinks.
Your camp kitchen should include a small, lightweight backpacking stove, a canister of fuel appropriately sized for your trip length, a single pot for boiling water, an insulated mug for hot drinks or soups and a single utensil like a long-handled spork.
Hiking Food
Plan your food strategy based on trip length and personal preferences. Trail mix, energy bars and dried fruits and vegetables are lightweight, calorie-dense options that don’t require cooking. Dehydrated meals are popular because they’re light to carry and only need boiling water.
You can pack perishable foods like sandwiches for the first day; just be sure you have a cold source, like an ice pack, to keep them properly chilled below 40 ° Fahrenheit. After the first day, stick to non-perishable options.
Pack Navigation and First Aid Essentials
Safety is the ultimate priority in the backcountry. When you’re hours or even days from help, you need the knowledge and tools to navigate accurately and handle medical emergencies. Carry a physical map and compass and know how to use them. GPS devices and downloaded phone maps make valuable backups, but batteries die and technology fails.
A First-Aid Kit
Build a first-aid kit tailored to your needs and trip length. At minimum, include blister care like moleskin, adhesive bandages in various sizes, antiseptic wipes, pain relievers and any personal medications you take regularly. Women should add items for female-specific trail hygiene, like a pee cloth or period supplies.
The Classic 10 Essentials
This list represents the gold standard for backcountry safety. These are the 10 hiking essentials to pack for every single trip, no matter how short.
- Navigation: Your map, compass and GPS or phone backup
- Headlamp: With extra batteries
- Sun protection: Sunscreen, sunglasses and a sun hat
- First-aid: Your customized first-aid kit
- Knife: Or a multi-tool
- Fire: Lighter, waterproof matches and a fire starter
- Shelter: An emergency blanket or bivy, even on a day hike
- Extra food: An extra day’s worth of no-cook food like energy bars
- Extra water: More than you think you need, and a way to treat more
- Extra clothes: An extra insulating layer
Follow This Backpacking Checklist for a Great Hike
This backpacking checklist is all you’ll need to tackle your hike with confidence. When you work through each category methodically, you’re far less likely to forget something critical. Happy trails!


Share this article