


Revivalist is a reader-supported endeavor and our posts may contain affiliate links. When you buy through links on our site, we may earn an affiliate commission.
Blush is one of the most crucial parts of makeup application. It can make or break a whole look. In fact, there’s a whole social media phenomenon known as blush blindness, where people put too much blush without realizing, resulting in an overapplied and gauche look. When done right, it can brighten your complexion, elevate your makeup and boost your confidence.
Here is a guide on how to apply blush for a natural look.
Understanding Blush
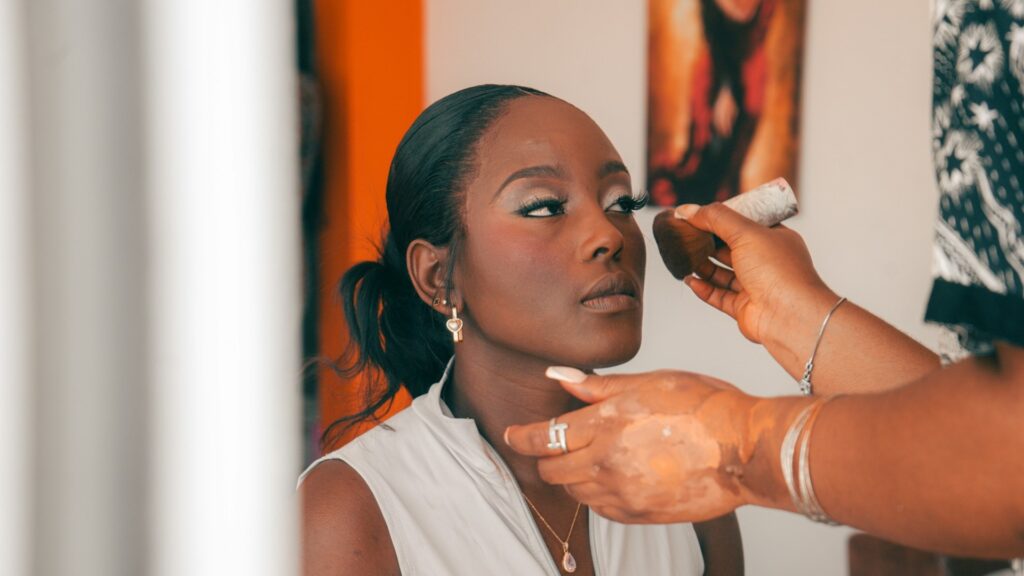
Here are some of the most crucial details you need to know about blush.
Definition and Importance of Blush
Blush is a makeup product that is applied to the cheeks. Applying blush after foundation adds some color to your face. Aside from color, blush adds some shape and life to the face. It mimics the soft pink flush of a healthy person’s complexion. The application technique can vary significantly and yield wildly different outcomes. Instructions on how to apply blush for a natural look with a brush will differ significantly from instructions on how to apply blush with fingers.
Types of Blush
There are different types of blush. The first is cream blush. It is known for creating a dewy finish and so it is great for people with dry skin. Cream blushes are typically recommended in video tutorials on how to apply blush with fingers, as they blend seamlessly into the skin, resulting in a natural and fresh-looking look. Aside from fingers, cream blush is also best used with a beauty sponge.
Another type of blush is the powder blush. This is a widely popular product that was the main blush type in previous generations. Powder blushes offer a matte finish, making it ideal for people with oily skin. This blush type is best used with a fluffy brush to build a layered and buildable effect that can easily be controlled. Dabbing too much powder at once can result in patchy or overly bright blush, which isn’t recommended.
The last kind of blush is the liquid type, which provides an intense pigmentation and a long-lasting finish. They are best dabbed into cheeks and blended quickly for a striking yet vibrant look. However, since the pigmentation is intense, it may be harder to use by beginners at makeup.
Selecting the Right Shade for Your Skin Tone
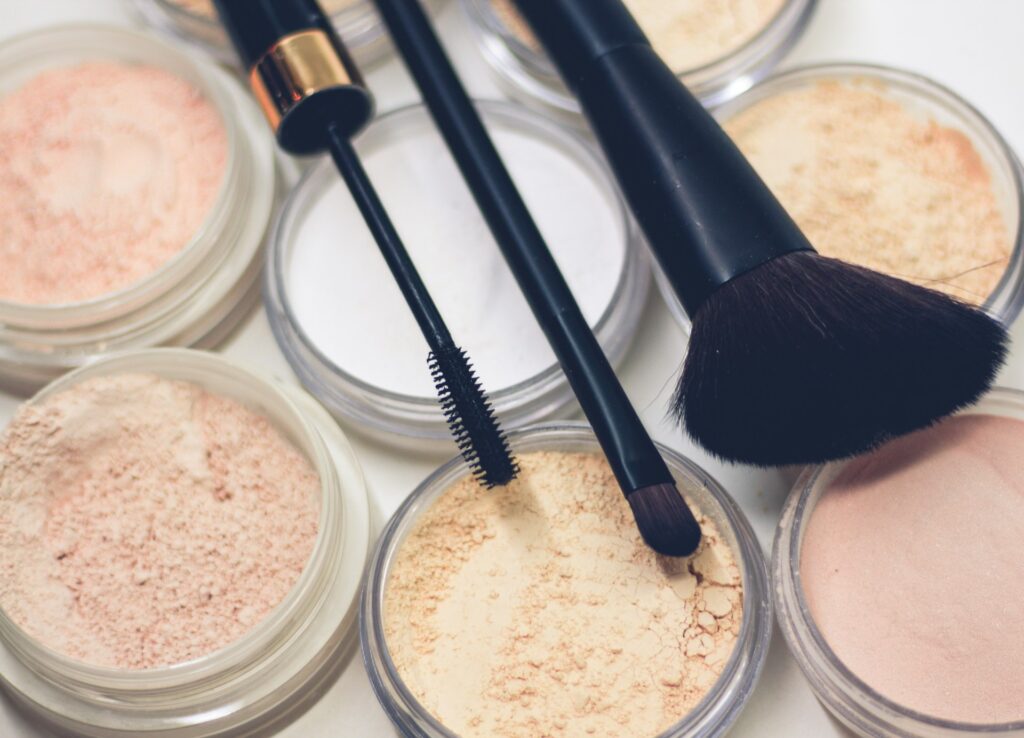
The best thing you can do to know how to apply blush for a natural look is to choose a blush that fits the right shade for your skin tone. The first thing to assess is your undertones. It could be cool, warm or neutral. People with neutral tones are versatile and can experiment with a wide range of blushes.
You know you have cool undertones when you have blue or purple veins on your wrist and you typically gravitate toward silver jewelry. For clothes, you usually look best in jewel tones, such as emerald green and sapphire blue, icy pastels, such as lavender and powder blue, and crisp neutrals, such as white and black. The blush colors that suit you best are pink and berry shades.
On the other hand, warm undertones typically have green or olive veins on wrists and look best on gold jewelry. If you have a warm undertone, you might look good in deep and earthy colors such as olive green, mustard yellow, rust, coral, turquoise and warm neutral colors like beige and chocolate brown. Warm-toned beauties look their best in peach and coral shades.
Blush Application Techniques to Achieve That Sun-Kissed Look
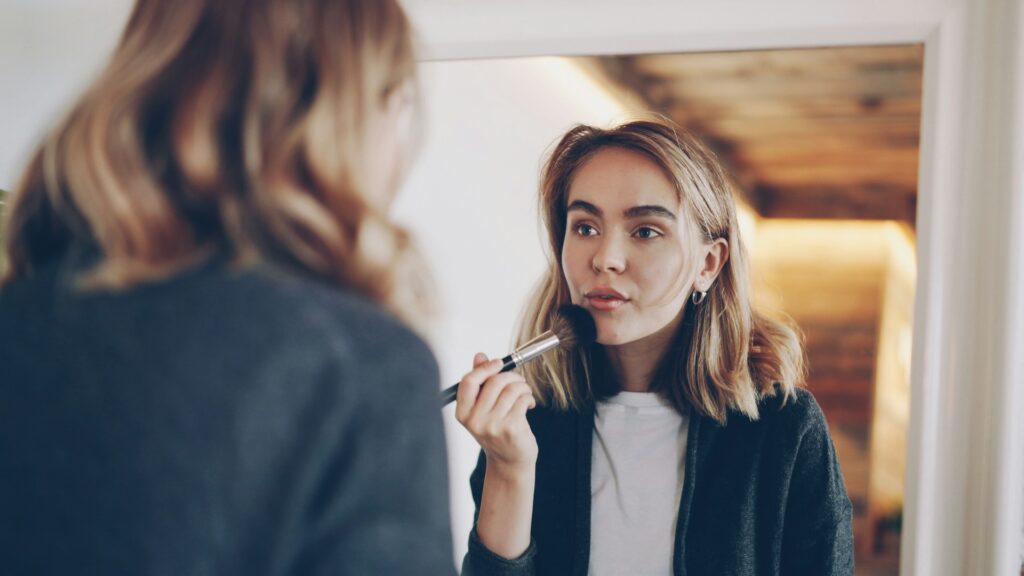
Creating a sun-kissed look is all about the right technique. Here are tried-and-tested blush application techniques.
- The Classic Apply-and-Blend Method
Start with a light application to the apples of your cheeks and gently blend upward to your temples. This technique enhances the youthful roundness of your cheeks.
- The Stipple Technique
Use a stippling brush to create a soft and diffused application. This technique is best for avoiding over-the-top blush as it provides a sheer wash of controlled flush. You can easily build the product toward your desired blush look.
- The Sculpting Method
With this method, you apply the blush just above the bronzer contour line. The result is a sculpted effect on your cheekbones.
- Finger Application
The key to nailing how to apply blush with fingers is warming the product. First, put a bit of cream or liquid blush on the back of your hand. Tap your finger to the color and warm it up using that finger and your thumb. Tap your finger into the apples of your cheeks, going upward to the temple. Make sure you don’t wipe or drag the blush for a more natural effect.
With a clean finger or a damp makeup sponge, soften the blush’s edges.
- The Layering Approach
You can combine two shades of blush for a dynamic and multidimensional look. The lighter shade should be applied on the apples of the cheeks, while a deeper shade should be applied along the contour line. A setting spray locks the blush in place and ensures its longevity. This product is crucial for humid conditions.
Common Mistakes to Avoid
The most common mistake beginners make when it comes to blush is over-applying it, leading to an unnatural appearance. You should start with a minimal amount and gradually build up the product so the blush looks natural instead of overwhelming. Another mistake is choosing the wrong shades. Colors that clash with your skin tone can dull your appearance, while the right ones enhance your natural features.
Many people also skip blending their blush. This results in patchy and harsh blush areas, which can bring down the rest of your makeup. Opt for a seamless finish for a more polished look.
Radiate Your Sun-Kissed Confidence
Selecting the right blush shade and mastering application techniques will help you achieve a natural and sun-kissed glow. Knowing these things won’t come all at once. Consider it as a playful experimentation to find the right one for you. You can also personalize the techniques and combine shades to suit your skin best. After all, makeup is an art and a form of self-expression.




Share this article