

Revivalist is a reader-supported endeavor and our posts may contain affiliate links. When you buy through links on our site, we may earn an affiliate commission.
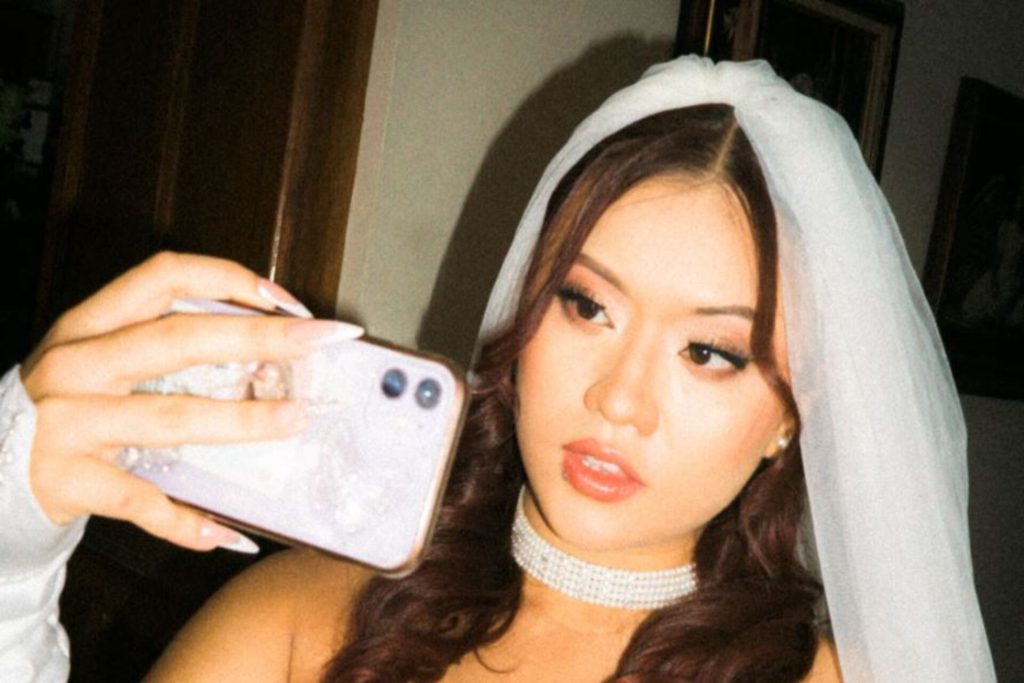
Brides want to look and feel their best on their wedding day. Doing your own glam may be uncommon, but it’s a great alternative that lets you take charge of your own look. Whether you’re a makeup enthusiast or a novice, knowing how to do your own wedding makeup can save you from stress and potential disappointment. Discover expert tips and must-have products.
Is It a Bad Idea to Do My Own Wedding Makeup?
Not at all! There’s nothing inherently wrong with doing your own wedding makeup, especially if you’re confident in your abilities or you intend to invest time in practicing. Whether you want to save money or have a makeup preference, it’s OK to be your own makeup artist on your big day.
Pros and Cons of Doing Your Own Makeup
Here are some things to ponder when deciding whether or not to do your wedding makeup.
The Good
You enjoy the following benefits if you do your own makeup.
Cost Savings
No professional makeup artist means fewer expenses. A makeup artist can charge anywhere between $150 and $600, depending on their experience and your preferred style. You can allot this money to your dream wedding gown or other aspects of your big day.
Personalized Touch
You have the creative freedom to explore various looks and experiment with different techniques. Watch YouTube makeup tutorials months before your wedding and practice continuously until you’re competent and confident.
The Potentially Bad
Of course, this decision comes with possible drawbacks, including:
Potential Stress and Mistakes
Every day makeup is different from bridal makeup. You need the right products and techniques so your face registers well on the camera. You might make mistakes that are hard to correct on your wedding day, contributing to stress. An expert can finish your look in around 45 minutes to an hour, which can help you save time.
Product Investment
Looking good costs a lot. You need to buy high-quality makeup products to ensure you stay flawless and picture-perfect. On the other hand, you get to keep all the products you’ve purchased and can use them for everyday looks.
A Step-by-Step Guide to Doing Your Own Makeup
If you think the pros outweigh the cons, DIY wedding makeup may be the best choice for you. Here’s how to do your own wedding makeup.
1. Prep Your Skin
Flawless makeup starts with your skin. Use a lightweight moisturizer all over your face and apply eye cream, especially if you haven’t slept well days before your wedding. Apply primer on the face, including the lids.
Eye cream product: Clinique All About Eyes Lightweight Eye Cream
Primer: NARS Radiance Primer
2. Apply Eyeshadow
Do your eye makeup before applying base to prevent fallout from contaminating your foundation. Warm up the eyes with a bronzy or rosy shade. With a small blending brush, apply a darker shade to the eye creases and do circular motions to add definition. Use a clean blending brush to clean harsh edges.
Add a smooth, shiny shade at the center of your lids and inner corners of the eyes. Remember to tap off excess powder product before applying the eyeshadow.
Eyeshadow palette: Natasha Denona Mini Rose Eyeshadow Palette
3. Apply Eyeliner, Mascara and False Eyelashes
Draw a thin line along the lash line and your waterline using an eyeliner pencil to define your eyes. Blend everything and do a slight tilt upward on the outer edges to elongate your eyes. Opt for a slim, liquid eyeliner if you want a bolder eyeliner. Add desired lashes to liven up your look.
Eyeliner: Urban Decay 24/7 Waterproof Eyeliner Pencil
Mascara: Maybelline Lash Sensational Sky High
4. Fill In Your Eyebrows
Use an eyebrow gel and a slim eyebrow pencil for that natural, laminated look. If you want fuller, bolder brows, use a pomade.
Eyebrow pencil: Revlon ColorStay Micro Eyebrow Pencil
5. Apply Foundation
Use a flat foundation brush to apply thin layers of foundation. You want that skin-like finish so you look amazing on camera. Don’t overdo your foundation to avoid cakey makeup.
Full coverage foundation: Estée Lauder Double Wear Long-Wear Matte Foundation
Glowy foundation: Giorgio Armani Luminous Silk Foundation
6. Conceal
Apply a light layer of concealer on the undereyes. Use a shade that’s a little lighter than your foundation. Blend it using a small concealer brush. Apply concealer on dark spots and acne marks.
Concealer: tarte shape tape concealer
7. Add Bronzer, Contour and Blush
These three products add dimension to your face. Use a light brown cream bronzer at the temples, the C zone and the front of the ear. Add cream contour to accentuate the shadows, but do it so lightly to make it more natural. Use a pink cream blush and blush brush, and apply light tapping motions on the face. This is to ensure the blush works in synergy with all the cream products.
Palette: Smashbox The Cali Contour Palette
8. Set Everything
Use a setting powder to set the base makeup. Apply gentle strokes so as not to stir the makeup. A tapered brush is best for the undereyes and a small sponge is ideal for the oily areas of the face, pushing the powder right into the skin. Use a high-end setting powder to avoid flashbacks.
Use powder blush and contour to set your cream products. Apply highlighter at the high points of the face. Take this moment to apply mascara to the lower lashes.
Brush set: LORYP Makeup Brushes Set
Setting powder: Laura Mercier Translucent Loose Setting Powder
9. Apply Lipstick
Slowly sculpt your lips with a lip liner that has the same shade as your lipstick. Buff it inwards using a lip brush. Lastly, apply the lipstick and gloss, if desired.
Lipstick: Kiko Milano Unlimited Double Touch Liquid Lipstick
10. Use a Setting Spray
Finally, use a setting spray to lock in your makeup. While waiting for it to set in, apply highlighter to your shoulders and collarbones. Admire yourself and celebrate your masterpiece!
Setting spray: Charlotte Tilbury Airbrush Flawless Setting Spray
3 Bridal Looks to Get You Inspired
Use these cop-worthy looks as your bridal look inspiration.
1. Classic Glam
What better way to embrace your natural features than with timeless glam? Meghan Markle’s bridal look exemplifies this. At the core, it’s all about enhancing — not transforming — your natural features. If you want something extra, use nude colors.
2. Thai Bridal Makeup
@allbridesnewyork Thai makeup tutorials #makeuptutorial #thaimakeup #makeup
This trendy style is all about emphasizing the eyes with thin, long lashes and shimmer. Opt for a lighter foundation and light blush to get that perfect glow.
3. Bronzy and Glowy Look
With this technique, you’ll need more shadows than colors. Opt for nude shades and give more time for skin prep for that glowing complexion.
Celebrate Your DIY Bridal Makeup
Now that you know how to do your own wedding makeup, it’s time to put your learnings into action. Invest time and money in the right products, and you’ll surely never regret being your own MUA on your big day.


Share this article